자식테마를 만드는 이유?
자식테마가 없는 테마는 업테이트가 발생할 때 function.php나 header.php 등 수정된 내용들이 전부 사라지게됩니다.
따라서 업데이트가 발생하더라도 내용들이 사라지지 않도록 자식테마를 제작해야됩니다.
자식테마(Child Theme)는 부모테마(처음 그대로의 Theme를 말합니다.)의 모든 내용을 상속받게됩니다.
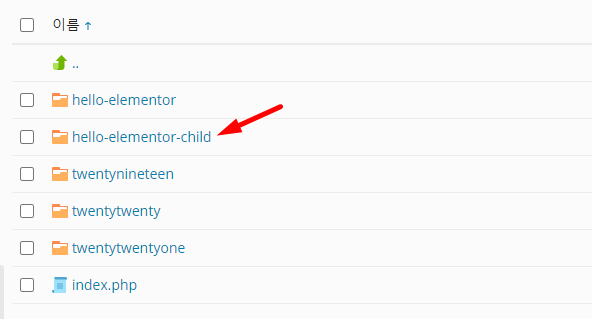
1. wp-content/themes 폴더 안에 자식테마 폴더 만들기.
ex) Hello elementor 테마일 경우, hello-elementor-child 폴더 생성
2. Stylesheet 만들기 style.css (css와 같이 따로 생성하여 관리하는 꾸미기파일?)
! Theme Name 과 Template 는 필수로 추가해주셔야합니다.
! Template : 상위테마 폴더이름
/*
 Theme Name:   Hello Theme Child
 Theme URI:    https://elementor.com/hello-theme-child
 Description:  헬로 엘레멘토 테마의 자식테마입니다.
 Author:       Elementor Team
 Author URI:   https://wpastra.com/
 Template:    hello-elementor
 Version:      1.0.0
*/
3. Stylesheet 작동하도록 function.php에 추가
? 알아야할 점
> 자식 테마가 부모테마보다 먼저 로드 됨
> 모든 작업은 기본적으로 10의 우선순위를 가짐 (상황에따라 변경)
> Version number가 없다면 사이트 방문자는 새로운 버전 대신 브라우저에 캐시된 데이터를 받게된다.
> get_stylesheet* 함수는 자식테마를 먼저 참조함
* 권장사항 : ‘wp_enqueue_scripts‘ 액션을 스타일시트에 추가하고, ‘functions.php’ 파일에 ‘wp_enqueue_style()’ 함수를 추가한다.
functions.php 파일을 자식테마 폴더 안에 생성한 후 아래 코드를 입력
<?php


add_action( 'wp_enqueue_scripts', 'my_theme_enqueue_styles' );
function my_theme_enqueue_styles(){

  wp_enqueue_style( 'child-style', get_stylesheet_uri(),
    array( 'parenthandle'),
    wp_get_theme()->get('Version') // style header에 버전이 있는경우 동작함.
  );

}


?>
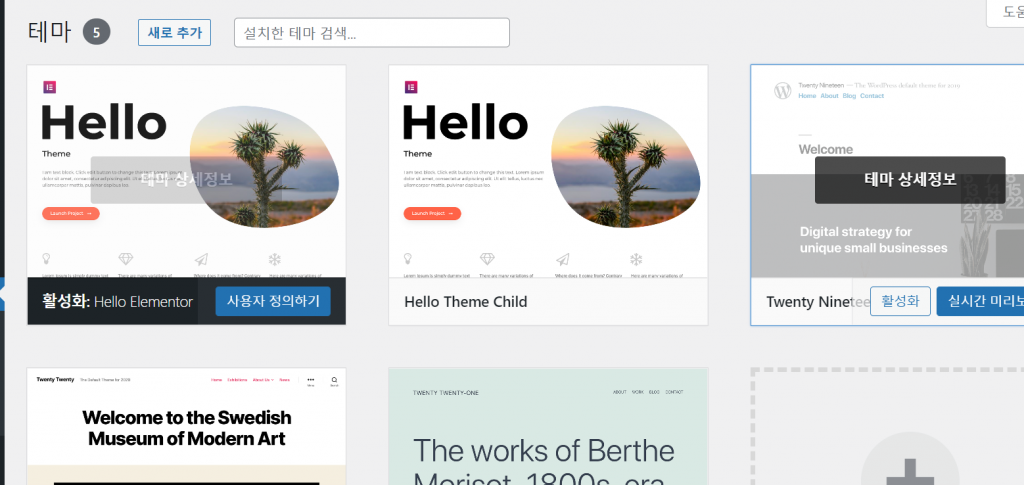
4. 테마 썸네일 ‘screenshot.png’ 추가
썸네일을 추가하지 않으면 썸네일이 없는 테마로 보여지게된다.
기능상에 문제는 없지만 부모테마에서 screenshot.png파일을 복사해서 붙여넣기 하면 됨.
경로 : 자식테마 폴더 ‘wp-content/themes/***-child/screenshot.png’
* 권장사이즈 : 1200×900
참고링크 : https://developer.wordpress.org/themes/advanced-topics/child-themes/
* 공부용 자료로, 정확하지 않을 수 있으며 공식 홈페이지 및 유튜브를 참고하였습니다.